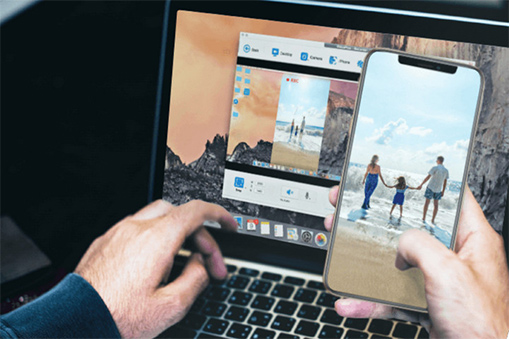
Apple just released iPhone 14 Pro and Pro Max, which start at $999 and $1,099.
However, users frequently reported iPhone 14 Pro camera shaking problems. Specifically, they notice obvious rear-camera vibrating, rattling, buzzing, and mechanical noises from iPhone 14 Pro when opening Instagram, TikTok, and Snapchat apps. Such an issue may also blur the photos. This issue made the iPhone 14 users somewhat frustrated.
Why Is iPhone 14 Pro Camera Shaking
This is certainly a software bug caused by the incompatibility between the third-party apps and iPhone 14's new camera, especially its optical image stabilization. The problem likely happens when the third-party apps access the rear camera module.
Since the iPhone 14 has just come out, most iOS apps have not been tested and adapted with the new device. You can see adaptation issues popping up one after another, such as the 'format is not supported or source is unavailable on iPhone' and the iPhone 14 Pro freezing after the data transfer. Meanwhile, there are also incompatibility issues with apps on iOS 16, which are also criticized by many people. For example, the recent TikTok crashing on iOS 16.
So, if you are also experiencing iPhone 14 Pro camera shaking when using popular video and chatting apps like Snapchat, Instagram, and TikTok, don't worry. Please read on.
Update to iOS 16.0.2
Apple Inc. has already fixed the camera vibrating issue on iPhone 14 Pro and iPhone 14 Pro Max in the update of iOS 16.0.2, according to Apple's release notes. The bug fix is sooner than expected, which was said to fix in the next week.
The update also fixes some other issues, such as the display may appear black during device setup, copying and pasting between apps may cause over-frequent permission prompts, VoiceOver may be unavailable after rebooting and so on.
But if you want to improve the videos recorded by iPhone 14 or other iPhones, go on reading the following solutions.
Fix the Shaking iPhone Footage
The shaky iPhone (14) camera will record shaky footage. If you have shaky videos from iPhone, Android smartphones, GoPro, DJI, or other 4K cameras, you can try to remove the shakiness using VideoProc Converter AI.
VideoProc Converter AI is an all-in-one tool that can serve as a video editor, converter, fixer, enhancer, compressor, resizer, downloader, and recorder. It has a built-in 'Deshake' feature to fix the shaky videos.
Please note that VideoProc Converter AI is a desktop-based app, but not an iOS app. It means that you have to download and fix the shaky video on a PC or Mac.
Step 0. Download and launch VideoProc Converter AI. Transfer the shaky iPhone videos to your PC or Mac.
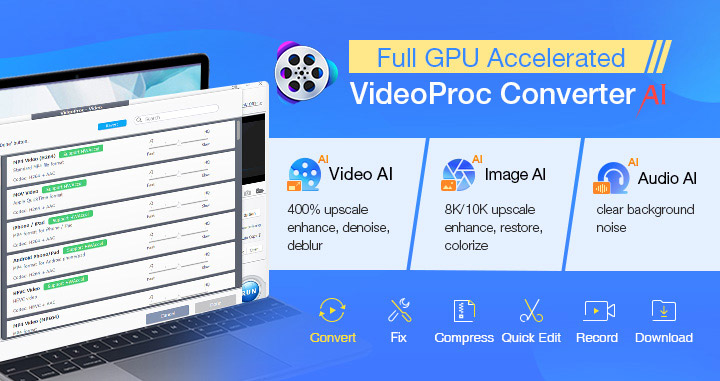
Step 1. On the main interface of VideoProc Converter AI, tap Video. Click '+ Video' and load the original shaky iPhone footage to VideoProc Converter AI.
Step 2. Choose an output format you like, and click Toolbox on the bottom. Find 'Deshake' and double-click on it.
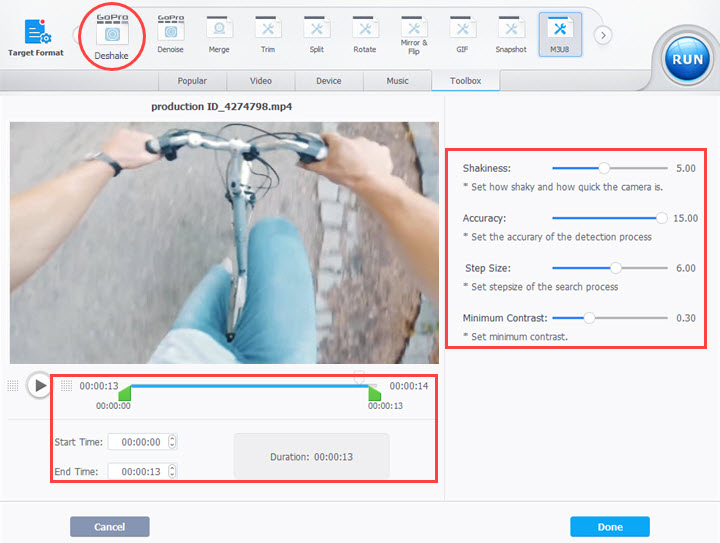
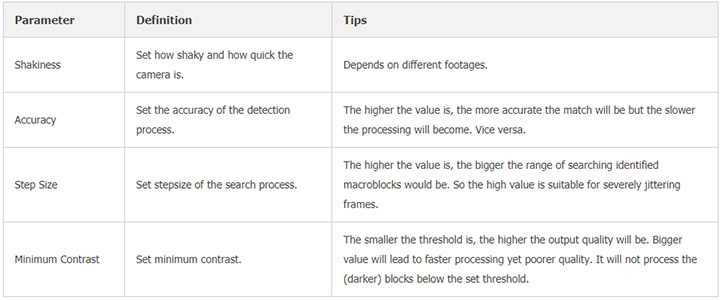
Step 3. Slide the control bars of the four options on the deshake interface left or right to adjust the Shakiness, Accuracy, Step Size, and Minimum Contrast.
Step 4. Hit the big RUN button and start stabilizing the shaking iPhone footage.
Remove or Reduce the Noises in iPhone Videos
If the video recorded by your iPhone (14) has any rattling, buzzing, whirring, or rumbling noises, you can remove or reduce the noises from iPhone recordings by using VideoProc Converter AI.
VideoProc Converter AI has a Denoise feature in Toolbox to fix the unpleasant and disturbing sound issue. Just download the software and give it a shot.
Step 0. Download and install VideoProc Converter AI on your PC or Mac. Upload your noisy iPhone footage to the same computer.
Step 1. Open and run VideoProc Converter AI, and click the Video button on the main interface. Choose '+Video' to add the source video.
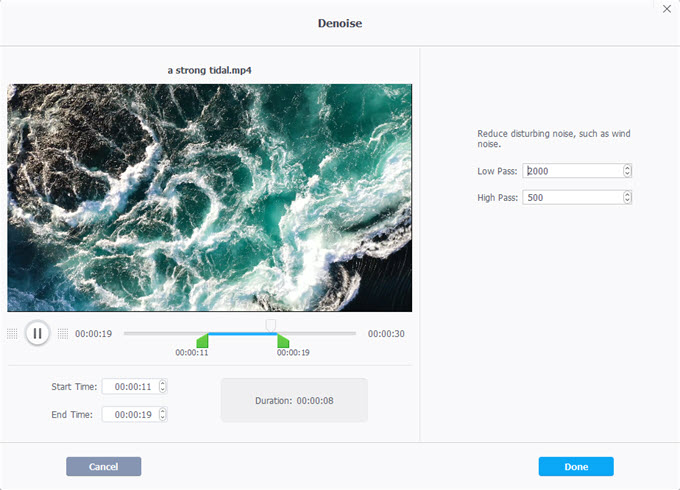
Step 2. Click on the 'Toolbox' tab on the bottom, then find 'Denoise'. If you fail to find it, just click on the Target Format, scroll down to the bottom, and go to the 'Toolbox' to find 'Denoise'.
Step 3. On the Denoise interface, set the Low Pass and High Pass values. Generally, the low pass filter is used to remove high-frequency noise from the video while keeping the low-frequency components; and the high pass filter is used to remove low-frequency noise while keeping the high pass components. If you are not familiar with such terms, just keep the default settings to have a try.
Step 4. Press the RUN button to start removing or reducing the noises in the video and export the processed video.
