Webex by Cisco is a popular video conferencing platform with millions of users over the world. It makes remote work and collaboration easier than ever with complete virtual meeting solutions and accommodates up to 1000 participants in one call. However, Webex does not let paticipants record the screen. Its in-house recorder is only available on the desktop version. Moreover, it does not allow capturing the Chat panel and File Share panel.
But don't sweat it. In the following part, we'll show you how to record a Webex meeting with any type of account and on any device. Whether you're new to Webex or an experienced user, you'll find the best screen recorders for Webex meetings. Let's get started.
1. How to Record Webex Meeting as a Host
If you want to record Webex meetings with its built-in recording feature, you need to be the host and use the desktop version of the Webex app. It allows you to record a Webex meeting/webinar/event in progress or scheduled. While if you are a cohost, you can record the meeting only when the host leaves.
Below is the step-by-step guide on how to record a meeting on Webex.
Step 1. Launch the desktop app of Webex. Set up a recording and invite people into your zoom.
Step 2. Now you can see a Recorder button in the toolbar under the webcam grids. Click the button and you can choose to save the file to the cloud or your computer.
Step 3. Click the red "Record" button to start recording. To end the recording, hit the button again.

Step 4. Click the account profile icon and you can find the meeting in "Recordings".
Note: Webex saves recordings in WRF and ARF format. If you want to view Webex recordings on other devices or apps, you need to convert WRF and ARF to MP4 manually.
2. How to Record Webex Meeting as a Participant
As an attendee, you'll see no recording button on the interface of a Webex meeting. And that's when VideoProc Converter AI comes to your aid. It's a versatile video processing program featuring an HD screen recorder for Windows and Mac.
VideoProc Converter AI can record Webex meetings, events, training, and personal rooms with audio no matter you're a host, cohost, or participant. Besides, it enables you to customize the recording area freely to include the meeting, Chat panel, Participant panel, and Share File panel, which Webex built-in screen recorder cannot do for you. And after recording, you can use it to cut, merge, crop, rotate, add logos/texts, convert, and compress the file size for better sharing and archiving.

VideoProc Converter AI - Best Webex Recorder for all Types of Account
- HD 1080p screen recording with audio from apps, system, and mic.
- Various output formats: MP4, MOV, TS, MKV, and FLV.
- Resize the recording area, recording countdown, handy hotkeys.
- 3 modes to record screen, webcam, and picture in picture.
- Highlight recordings with lines, texts, arrows, and shapes.
![]() Excellent
Excellent ![]()
Now download and install VideoProc Converter AI and record Webex meetings easily!
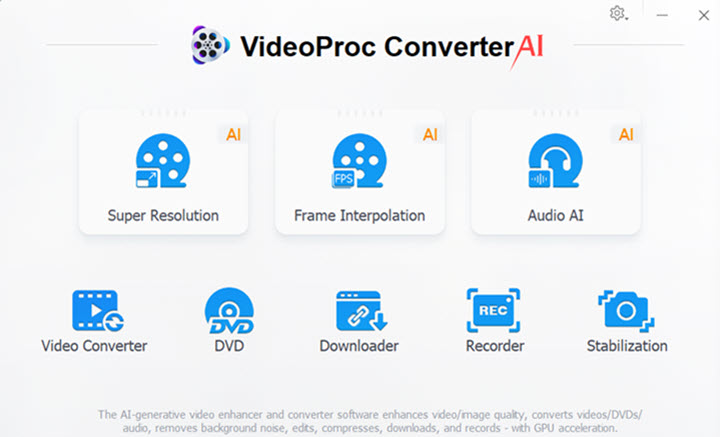
Step 1. Open VideoProc Converter AI and select "Recorder" in the main interface.
Step 2. Go to Webex and join a meeting.
Step 3. Choose "Screen" mode in VideoProc Converter AI. It records the full screen by default. Also, you can click "Crop" at the bottom to set a specific area.
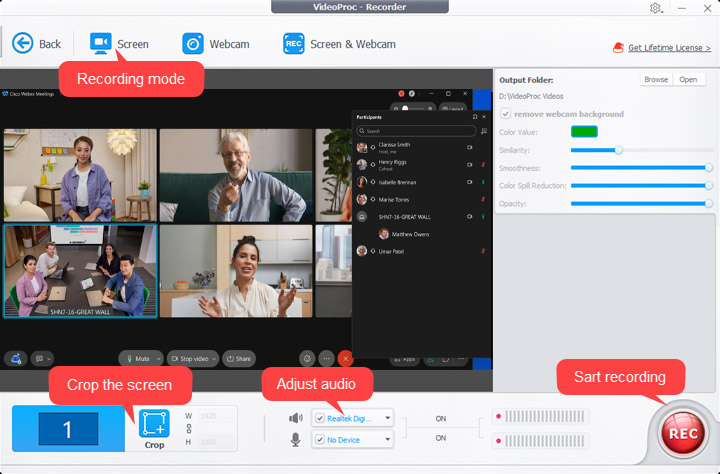
Step 4. Click "REC" and get back to the Webex meeting. VideoProc Converter AI will start recording in 5 seconds.
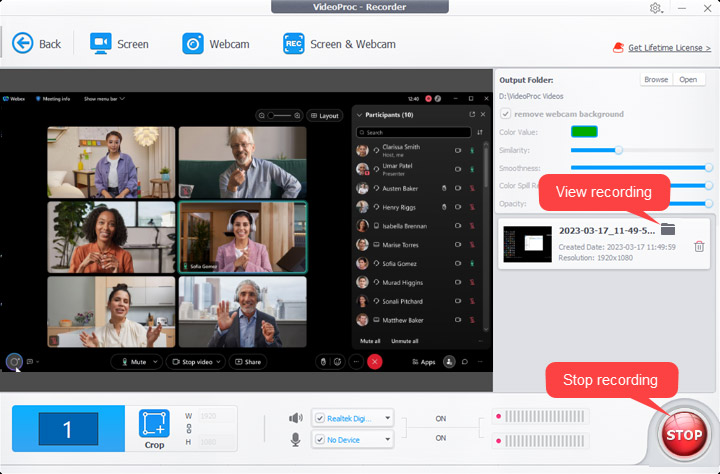
Step 5. When it is done, stop recording. Now you can view the Webex meeting recording by clicking on the file next to the preview window, or opening its file location on your computer.
3. How to Record Webex Meeting on Mobile
Despite that Webex launches mobile version apps for iPhone and Android phones, it does not offer users a recording button like it does a desktop, even for the hosts. In such cases, there are some screen recorders for smartphones you can use.
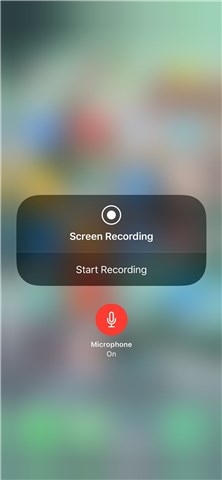
Record a Webex Meeting on iPhone
Step 1. Open Webex on your iPhone. Hold or participate in a meeting.
Step 2. Launch Readygo screen recorder on your PC.
Step 3. Open the iPhone control center. Tap the recording button and it will start recording in 3 seconds.
Record a Webex Meeting on Android
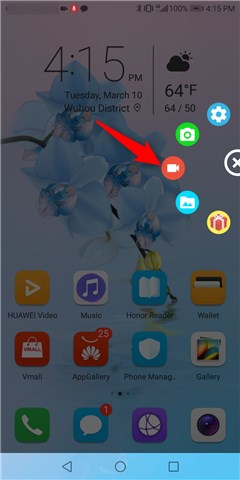
Step 1. Download a screen recorder from the app store on your phone. For example, AZ Screen Recorder.
Step 2. Open a Webex meeting. Find the recorder icon on your screen and start to record.
Step 3. When the conference is over, swipe down the notification page and stop AZ Screen Recorder.
Webex Recording FAQ
Can you just record audio on Webex?
Before your session, you can set the recording layout to "Blank View" which won't include any webcam view in it. But it still saves the file in MP4. To keep the audio only, you can use VideoProc Converter AI to record the meeting, and then convert MP4 to MP3 audio with its converting feature.
How to record Webex meeting without permission?
Enable the screen recorder in VideoProc Converter AI when you participate in a Webex meeting. It doesn't require any permission or notify others that you are recording.
How to view Webex recorded videos?
If you save the recording on Webex cloud storage, go to your account dashboard, click Recording, and download it to your computer. While if you save the recording to your local storage, you can find them in the Documents folder on your PC or the Home folder on your Mac. To watch .wrf or .arf recordings with the default player on your device, you need some video converters to change them into MP4, a widely-supported format.

