2020 starts dramatically with the spread of Convid-19, forcing many offline classes to online courses, and making screencast a skill almost every teacher should acquire. But this skill is not limited to educators, it has been a long-existing communication approach in multiple industries, including E-sport for gameplay sharing and IT for software demo etc. Gamers, business professionals have adopted this way of sharing for many years.

What is Screencast?
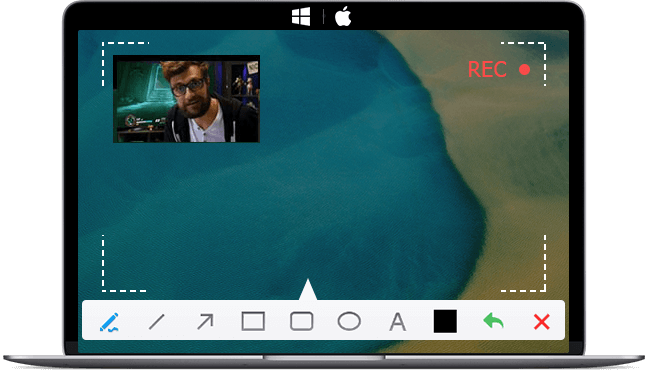
A screencast is a video recording of your on-screen activities which almost always sided with a corresponding narration (audio). Its major building blocks are: vocals, video of your computer screen, and video of the narrator, aka. screen video + audio + webcam video. Although webcam video overlay of the instructor is not a necessity, it can be an appealing add-on to render a more immersive learning viewport.
Step 1: Preparations for Creating a Screencast Video
Plan your content and control your duration

– Be on the point and show your audience the value of watching this video immediately. Educators are familiar with this but for others, especially instructive contents, making it as short as possible is always better. Generally speaking, the max concentration of a man is within 45-min, while as time goes, our average attention span will become increasingly shorter.
Make good use of Xmind, PowerPoint, WPS, Excel to convey your point. And remember to always keep the tongue humorous and fun.
Audio
– Choosing a quality microphone and a quiet place: you can either use the built-in mic on your computer, headset mic of your phone or purchasing a professional microphone. As long as the quality of the audio satisfies you and makes you sound good, any tool can do. You are not a voice-over artist, so just be you.

Bottom line – making yourself heard clearly by the viewer is the gist. But if you have to record screen in a noisy environment, do make sure you de-noise the background sound.
Screen video
– You need to find a tool to record your PC screen with/without system sound. I'm not suggesting that you rush into one screencast software tool and settle down with that. Try something more and you will find ones that might suit you better.
Some screencast tool like OBS allows you to broadcast your screen actions, while some offline screen recording tools like VideoProc lets your record in-mouse moves with/without system sound. The best part of VideoProc is that it can replace your webcam background to green color which we will talk about later.

Webcam video
– Webcam video is generally a recording of your face or maybe two instructors talking in an interview Q&A-style or you might need to switch to welcom another instructor. The gist here is to let viewers see the real you. It can help make additional impression on your audiences and let them feel close to you while in the meantime creating a face-to-face kind of learning atmosphere. Besides, for an internet celebrity, face can be your personal brand which you should make good use of.
You can shoot the video with a cam simultaneously and marry it to the screencast. Also, some screen recording tools do make it possible to record both screen and webcam at the same time, plus the audio of the narrator and the system voice.
Do make sure that you wear properly and looks confident. Smile, smile, smile.
See also: How to Choose a Decent Webcam?
Software picking
- Some features you might want to take a note while choosing an easy-to-use screencast software toolkit:
- the ability to select and record any area on screen;
- the ability to choose to record mic only or system only or both;
- the ability to record both screen and webcam;
- the ability to record with built-in green background;
- the ability to recognize and record dual screen;
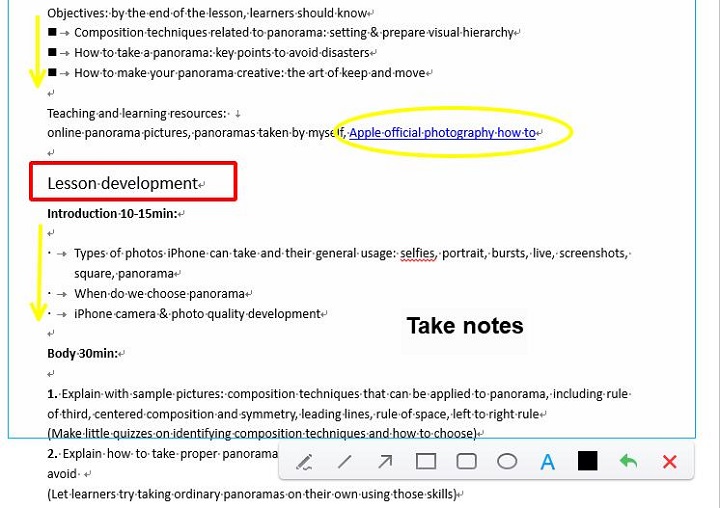
- the ability to let instructors write in the recording area, providing whiteboard like stuffs;

Extra tip: Best screen recorders list reviews
However, good and FREE screencast software tools can only be found in open source world. Any commercial screencast software tool will find its way to force you to go premium. Some may worth the money while some should be totally avoided.
Freebee hunters, do not try the below tools:
- Kkcapture – Offers only unqualified resolution
- Bandicam – Time restriction with watermark
- Screenrec – Cannot pause recording
- Apowersoft – Force online recording 3-min duration at maximum
- Windows 11/10 built-in screencast software – Outputs overly large recording files
- Showmore – Requires that you register before using
Instead, I recommend you non-commercial tools - Obs-studio and Captura, although Captura has some minor compatible issues with the symptom of choppy playback.
For advanced users who won't mind shedding some coins, I would recommend VideoProc Converter AI which covers all the above features for a quality screencast software. VideoProc helps you make screencasts under multiple recording modes - screen, webcam, screen & webcam, voice-over, and system audio. It is a pleasant walking stick to help make walkthrough videos, game tutorials, presentations, software reviews, and so on. When you are doing a demo for resource-intensive software, simply enable the GPU acceleration feature to prevent frame jumping. It can output high-quality screencasts in MP4, MOV, MKV, FLV, etc. And upon export, VideoProc also offers editing utilities including cut, merge, crop, denoise, green-screen effects, etc.
Step 2. Make a Screencast Video with VideoProc Converter AI
To begin with, download and install the latest version of VideoProc Converter AI on your computer and launch it afterwards.
Step 1: Set up related parameters.
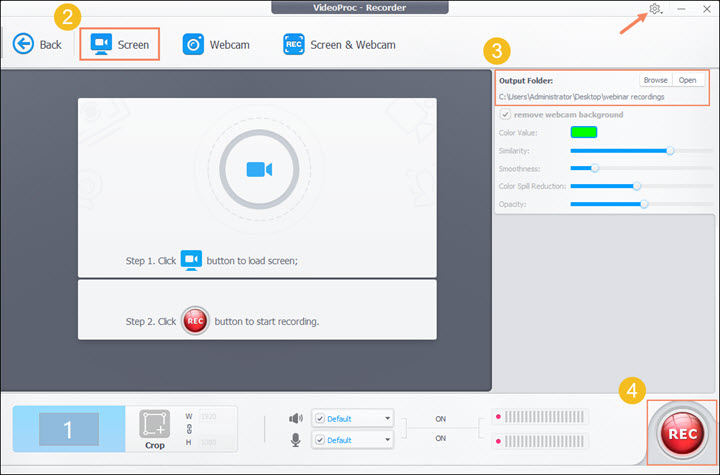
Click Recorder on the main interface, then click the gearwheel icon in the top right corner to call out Settings, where you can adjust some parameters such as recording quality, format, audio device etc.

Step 2: Enable audio and webcam.
You may enable computer audio or mic by clicking the two icons on the bottom of the Window.
Click Screen & Webcam then two options will pop up: Record screen while showing facecam & Record webcam while showing screen. The former one prioritizes screen recording and webcam recording serves as an auxiliary video window overlaying the main video. The latter functions oppositely.
Note: You can click the Crop option on the left bottom corner of the window to specify the area that you intend to record.
Step 3: Activate screen recorder.
When you have all your things prepared, hit Run to get screen recorder activated.

When you want to stop recording, press you preset hotkey. You can also draw lines, arrows, squares and type in the recording area to elaborate your opinions to your audiences.
Step 3. Edit Your Screencast Recordings
Marry all the video and audio tracks, and for better outcomes, you can also choose to add some background music, funny images, or transitions where needed. Cutting out those "hmm", "um", "ew" sounds when you've done too many times.
You can record longer and edit/cut the recording to the needed duration. Don't afraid that you say something wrong, continue your talking/instruction pace, and leave the rest to post-editing. You can use cut/trim and merge to erase those embarrassing parts. And adding subtitles to make you clearly understood by your viewers.


