Are you interested in using vlogging to share your ideas, views, and experiences with others? A vlog is a type of video blog that can be made and shared on social media sites like Instagram, TikTok, Facebook, and YouTube. Vlogging is an awesome way to express yourself, communicate with your audience, and even earn money online.
Do you want to start your own vlog and become a popular vlogger? Or maybe you just want to record your life and share your ideas with the world. However, vlogger is not as simple as it seems. Many beginners can be confused about where to start with. It requires planning niches, preparing content, and editing skills to create engaging and high-quality videos. If you are a novice about vlogging who wants to learn how to make a vlog, you're in the right place. Here we'll show you steps to start your vlog:
- Selecting your vlogging niche
- Planning your vlog content
- Preparing your equipment
- Recording your vlog
- Editing your vlog
- Uploading and promoting your vlog
- Engaging with your audience
After learning these steps, you are able to create an attractive vlog from scratch. And with the help of powerful video editing tools, you can make vlogs that stand out from the crowd. So, let’s get started!
How to Make a Vlog in 5 Steps
1. Selecting Your Vlogging Niche
The first step before making your vlog is to determine your niche. Consider what makes you unique in your vlogging identity, the distinct angle that distinguishes you from others. You need to think about what are your interests, what are you passionate about, and what expertise you have. For example, some popular niches are fitness, gaming, traveling, beauty, pets, and more.

2. Planning Your Vlog Content
When it comes to planning your vlog content, you just need to decide what you'll vlog about. It's time to come up with content ideas while keeping your niches in mind. What topics or stories are you going to vlog about? Don't forget to think about what your audience might be interested in.
Then you need to make a schedule for your vlog content. For example, how frequently you'd like to record and post vlogs on YouTube or other platforms. Daily, weekly, or monthly, which is not recommended. This will help keep you on track and keep your audience interested in expecting your next vlog.

3. Preparing Your Equipment
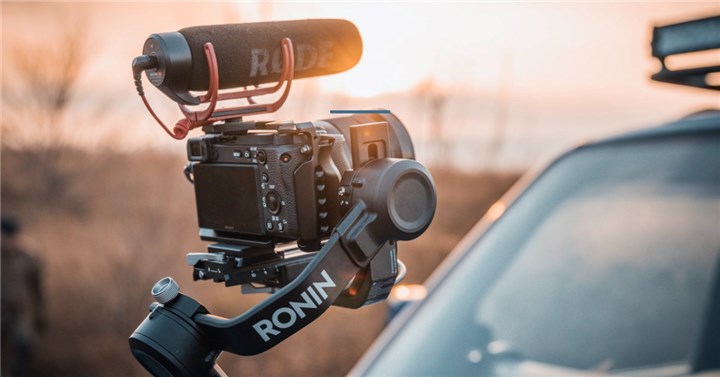
Now it's time to prepare the equipment for your vlogs. For beginners, you do not need to buy some expensive and professional tools. Some essential tools like a decent camera, microphone, tripod, and lighting kit are what you need, with options that are within your budget.
Once you get all your equipment, you need to learn how to properly set them up and use them. Position your camera and microphone so that they can record you and your voice clearly. Also, make sure your room is well-lighted, which will make you look good on camera.
4. Recording Your Vlog
Now you've got your gears ready, it's time to record your vlog. It's normal to feel a bit nervous when you start recording a vlog. Don't be too hard on yourself at first; vlogging is a skill that gets better with practice. Just be yourself and be confident. Confidence will come with practice, just be natural and comfortable in front of your camera. The more natural you are, the more engaging your vlogs are. So just grab your camera and press the record button to start.
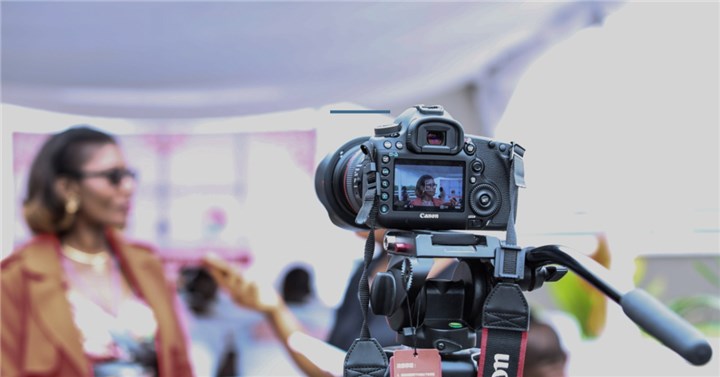
5. Editing Your Vlog
Editing is a magic process to turn your recorded video into a fancy vlog. An effective video editing tool can help you polish your raw footage into engaging artwork. If you are a professional in video editing, you can choose from Adobe Premiere Pro, Lightworks, Davinci, and more. If you are looking for a simple yet comprehensive video editor, VideoProc Vlogger is a fantastic choice for beginners. It offers a user-friendly interface and a bunch of features to help you make vlogs without too much of a learning curve. It's 100% safe and free to use.
You can rough cut your vlogs like trim, split, add text, add music, add effects, add transitions, change speed, etc. Moreover, it offers advanced features like speed ramping, motion crop, color grading & correction, audio editing, green screen, split screen, keyframe, and more.
Now just get this free video editing software to your Windows or Mac computer and then edit your vlogs in an easy way.
Step 1. Create a new project and import recorded vlogging videos.
Run VideoProc Vlogger and create a new project for your vlog. You can keep the default settings or customize the file name, frame rate, resolution, and more.Drag and drop your recorded footage here and they will be sorted in the Media Library based on their file types: video, music, picture, subtitles, etc.
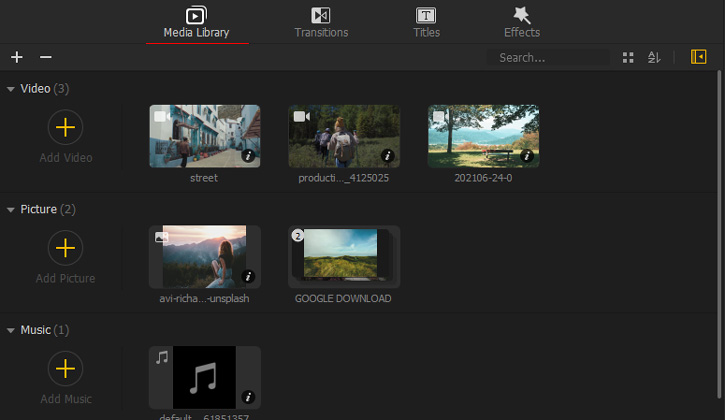
Step 2. Edit your recorded vlogging footage.
Then you can rough cut your recorded vlogs like cut unwanted parts, trim videos, split videos, change speed, detach audio from video, add motions to videos, correct color, record your voice, add text to video, and more.

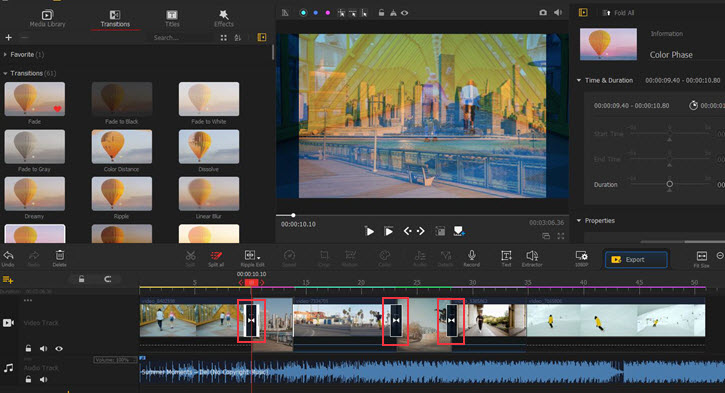
Step 3. Add transitions and effects to your vlog.
You can add transitions between two video clips to make them seamless and add some effects to make your vlogs more cinematic.
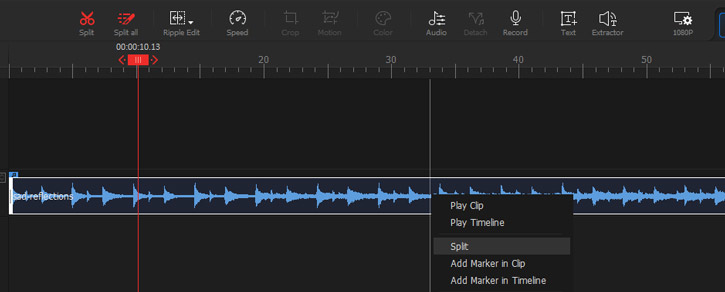
Step 4. Add background music to your vlog.
Music can help set the tone of your vlog. It has the power to grab and hold your viewers' interest throughout the entire video. And sometimes a piece of good music will make your vlogs unforgettable all the time.
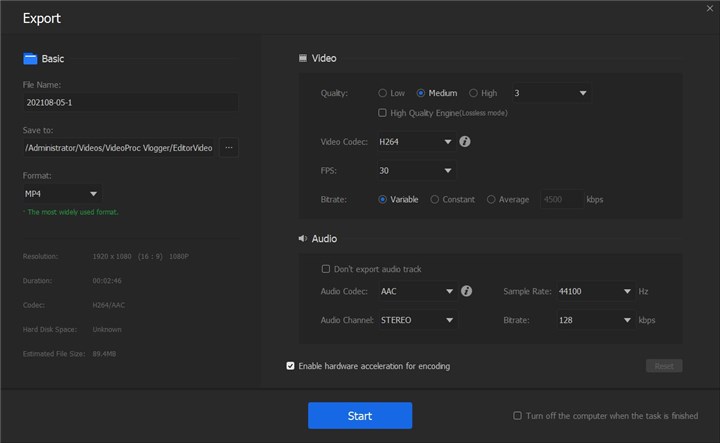
Step 5. Save and export your vlogs.
Preview your vlogs from the start to the end. Click the Export button once you're satisfied with your creations. Set the video quality, codec, FPS, bitrate, audio codec, audio channel, and more. You can also enable the GPU acceleration, which will speed up the process of your export.
Conclusion
From selecting your niche to editing your vlog with step-by-step tutorial, this guide will be helpful if you want to learn how to make a vlog for YouTube and other social media platfroms. Don't heisitate and grab your camera to start!

