Looking to create captivating images with ease? NovelAI is an amazing tool for AI-assisted storytelling and image generation. Based on Stable Diffusion, the NovelAI Image Generator enables you to craft detailed and unique images from simple text prompts. With various customization options, you can easily customize various settings you need to get the perfect result. Whether you're an author, artist, or hobbyist, NovelAI offers a range of powerful features to make your visions come to life.
However, as we know, the maximum image resolution you can get from NovelAI is limited, and may not be suitable for illustrations or book covers. So, here in this article, we'll show you how to use NovelAI Image Generator, and how to upscale and improve the image quality. Now, let's get started.
Key Takeaways:
- NovelAI has an AI image generator from texts and images.
- You can customize image generation settings for better results.
- Use VideoProc Converter AI to enhance the generated image quality.
Step 1. Visit NovelAI Image Generator
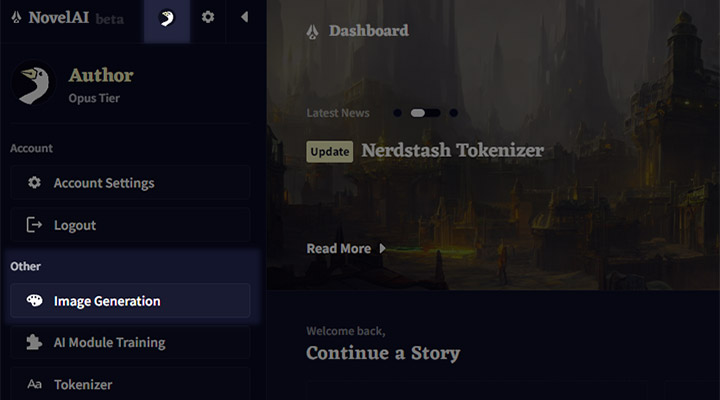
To begin using the NovelAI Image Generator, go to the NovelAI Image Generator page. First, you will need to log in. Enter your email and password, then click on the login button. If you don't have an account, there is an option to create one easily. Once logged in, you will see options to create your images. You can customize your prompts and refine the details.
Step 2. Select a NovelAI Diffusion Model
Using NovelAI Image Generator is similar to Stable Diffusion, as it is based on the latter. You'll need to click and expand the list and select a NovelAI Diffusion Model:
- NovelAI Diffusion V4 Full
- NovelAI Diffusion V4 Curated
- NovelAI Diffusion Anime V3
- NovelAI Diffusion Furry V3
 Note: The the V4 Full mode is the latest completely original image generation model. It lets you generate up to 6 AI anime characters in one scene, with perfect scene composition and character interactions.
You'll see a brief description of each model on the interface when you select it. You may click on the description to switch models at any time. Choosing the right model ensures the overall style of the generated images match your vision.
Step 3. Enter Your Prompt and Undesired Content
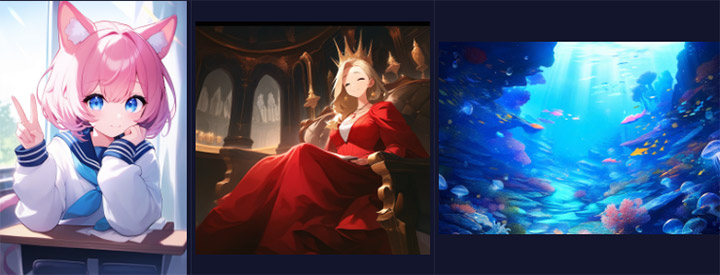
Simply put, the prompt is where you describe what you want the AI to generate. Make sure to be specific and clear. For example, if you want a sunset, mention details like colors, scenery, and any specific elements. Clear instructions help the AI generate accurate images. Also, compared to prose, a subject description accompanied by tags (keywords) is the most efficient way to word your prompt. Since the AI can only see a specific number of tokens, keep an eye on the token limit (225 tokens). And the order is also important. It is advised to keep the most important things in the front half of your prompt.
A sunset over a mountain range with orange and pink skies, and a silhouette of trees.
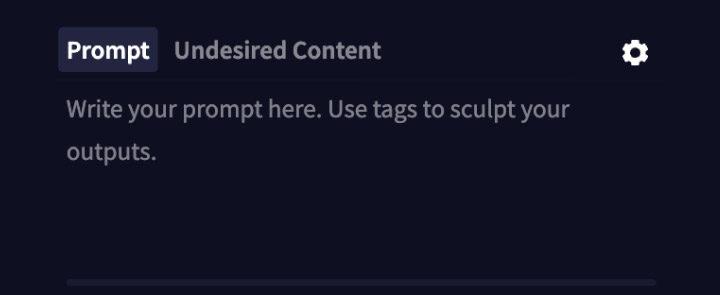
The undesired content section is for elements you do not want in your image, quite similar to Stable Diffusion negative prompts. This helps the AI avoid including items or styles that aren't suitable for your creation. It's especially useful for filtering out unwanted aspects. If the AI ignores the tags you give in the prompts, try to change the prompt weight by surrounding tags with {} to strengthen or weaken with []. This applies to both prompts and negative prompts.
Step 4. Add a Base Image (Optional)
Adding a base image allows you to upload an existing image, which the AI will use as a base. Click the Upload Image button to choose an image from your files. This can be anything you want to build on, such as sketches or photos.
If you've already generated an image, you can use it as a base for further refinement. Click the Use As Base Image button on a generated image.
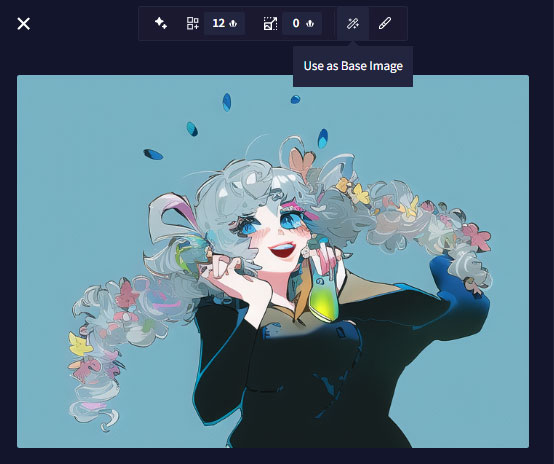
After selecting or uploading your base image, you can customize settings such as strength and noise. This will control how much the AI modifies your base image.
- Strength: A higher value means the AI will make more significant changes.
- Noise: Adjust this to control the randomness in the image generation.
Once you're satisfied with the settings, proceed to generate your image. Let the AI interpret and enhance your base image, guiding it towards your desired vision.
Step 5. Set the Image Resolution and the Number of Images
NovelAI Image Generator allows you to generate images at various aspect ratios and sizes. You can select the resolution from a dropdown menu or directly input your desired resolution in the box. Higher resolutions result in more detailed images, but take more time and resources.

Here are the options you can select from the Resolution dropdowns:
| Size | Format | Resolution |
|---|---|---|
| NORMAL | Portrait | 832x1216 |
| Landscape | 1216x832 | |
| Square | 1024x1024 | |
| LARGE | Portrait | 1024x1536 |
| Landscape | 1536x1024 | |
| Square | 1472x1472 | |
| WALLPAPER | Portrait | 1088x1920 |
| Landscape | 1920x1088 | |
| SMALL | Portrait | 512x768 |
| Landscape | 768x512 | |
| Square | 640x640 |
Tip: If you're experimenting, start with a lower resolution and fewer images. This helps you quickly see how your prompt affects the image and make adjustments as needed.
Step 6. Customize Other AI Settings
To fine-tune your NovelAI image generation, you should explore various settings. Each option helps you control how the AI interprets your prompts and creates images. Here are some key settings you can adjust:
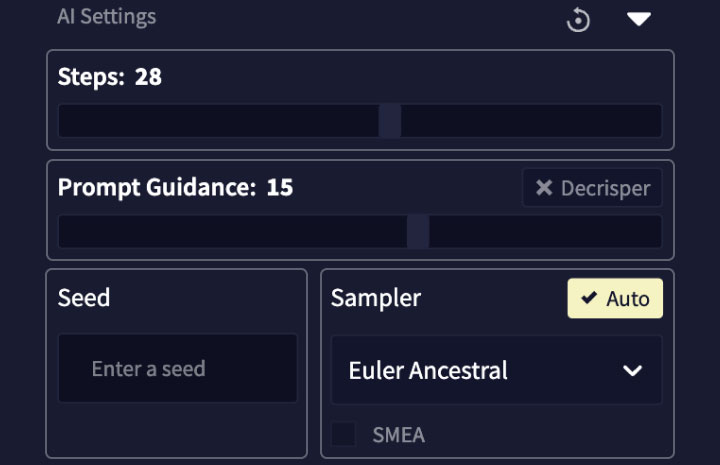
Steps
Adjusting the Steps setting affects how many iterations the AI refines your image. Fewer steps result in quicker, rough images, whereas more steps lead to detailed, polished images. Be careful; too many steps might over complicate your image.
Prompt Guidance
Prompt Guidance controls how strictly the AI follows your description. A higher value ensures the AI sticks closely to your prompt, while a lower value gives it more creative freedom.
Seed
The Seed setting determines the randomness in image generation. Using the same seed with the same prompt settings will produce similar images. Changing the seed each time offers varied results, perfect for exploring different visuals.
Sampler
The Sampler option affects the method the AI uses to generate images. Experimenting with different samplers can yield distinct artistic styles. Try out various samplers to discover the one that best matches your vision.
Prompt Guidance Rescale
Prompt Guidance Rescale adjusts the influence of prompt guidance over the image generation process. This helps balance between strict adherence to the prompt and the AI's creative interpretation.
Noise Schedule
The Noise Schedule setting impacts the level of noise added during the generation process. Modifying the noise can produce different textures and details. Use this setting to fine-tune the aesthetic of your final image.
Step 7. Generate Your Images with NovelAI
Once your settings are in place, click the "Generate" button to create your image. The AI will take your description and tags and generate images as per your requirements in just moments. But please note that different settings will consume different amounts of Anlas (NovelAI's premium currency). When you are happy with the final product, download and save the picture to your PC.

Step 8. Enhance and Upscale Your NovelAI Images
NovelAI Image Generator allows a limited maximum resolution, almost 1080p max from the Resolution dropdowns. This may be enough for illustrations, but not ideal for book cover designs, prints, or even wallpapers. And NovelAI's upscaling tool can only let you upscale images with resolutions up to 1024x1024 pixels by four times.
To achieve even higher resolutions, try VideoProc Converter AI. Its built-in image upscaler uses deep-learning Super Resolution technology to upscale your generated NovelAI arts to even 10K resolution without artifacts or quality loss. Even better, it features an enhancement and upscaling model optimized specifically for AI photo generators like Stable Diffusion, Midjourney, NovelAI, etc. For the price of a 1-month NovelAI Opus Subscription, you can unlock this amazing AI image super resolution tool for an entire year. Hesitate no more and download it to see for yourself. Free trial available.


