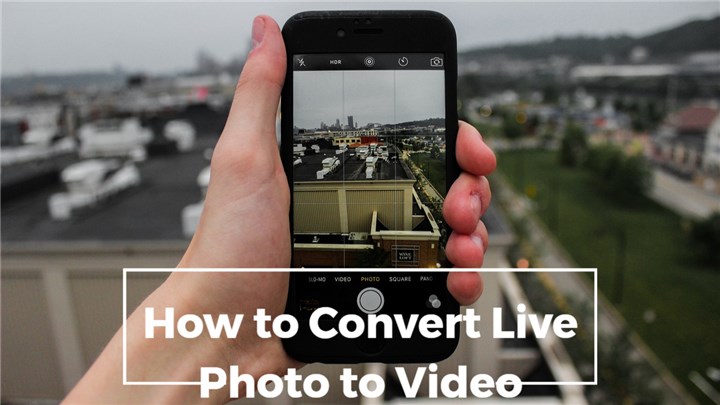
How do you convert a live photo to video? It's easier than you might think. Live photos are by no means a new feature. In fact, they've been around since Apple introduced the iPhone 6s. For anyone who doesn't know what Live Photos are, they are pictures created by capturing a brief series of snapshots and storing it in one photo. The problem is, they can't be shared like videos on social media sites, which means you're left with an awkward looking still image unless you take the extra step to turn it into a video file. If you are looking for a way to save your live photo as video, there are many ways to do it. To help make the process easier, we have compiled 5 different methods below that will convert your iPhone live photos into videos!

Method 1. Save Live Photo to Video with iOS Tools
For users withiOS13 or later, you can finally save your Live Photos as videos on your iOS device. You can even create a video by combining several Live Photos to create a longer video. Here's a simple three-step process to help you:
- Step one — Launch the Photos app on your device and select the live photo you want to convert.
- Step two — Tap the Share button in the bottom left corner of the screen.
- Step three — Tap the Save as Video option.
Your video will be saved to the Video album on your Camera Roll. Now you can find it and share it with your audience.
Method 2. Turn a Live Photo into a Loop or Bounce Video
For Apple users who have iOS 11 or later, you can use the Loop and Bounce features to transform your Live Photo into a fun video with some special effects that your audience will love (or not, tread lightly). Before converting your first live, we suggest that you play around with these features using regular photos first.
Now, the steps are the same, but the two features are very different. The Loop option, as the name suggests, turns your Live photo into a loop that keeps repeating — think of an Instagram Boomerang or a GIF. The Bonce feature, on the other hand, makes your image move back and forth in a rocking motion to create the illusion that it is bouncing. Both work well but consider, which effect you want to create before you start. Here's how:
- Open the Photos app on your device and choose the Live Photo you want to convert.
- Open the Effects option by swiping up and choose either Loop or Bounce.
- Tap the Save as Video option.
Once you're happy with your video, you can upload it to your favorite social media site.
Method 3. Create a Custom GIF using GIPHY
Another way to save your Live Photos as videos is to turn them into GIFs. The GIPHY editor, which is available on the free GIPHY app give you a lot more variety than the options we've listed above. Not only can you add text to your Live Photo, but you can also add other effects to make them pop on your social media. For this technique,
- First, open the GIPHY app and tap the plus sign on the bottom toolbar.
- Next, allow the app permission to access your photos and camera.
- On the next screen, click the Pictures option and select the Live Photo from your Camera Roll.
- Once the Live Photo opens in the editor, start editing your GIF.
- After editing your GIF, tap the Next option.
You can now export your GIF and save it to your Camera Roll. If you'd like to reuse the live as a GIF in your Instagram Stories or other videos, you can also upload it to GIPHY, so you can access it from other apps.
Method 4. Convert Live Photo as a Video Using Lively
Lively is a useful app that specifically converts Live Photos into GIFs. This app is dedicated to converting Live Photos to GIFs or videos, which will then allow you to save it and share or upload it on social media sites. That's all the Lively app does. The process is pretty intuitive as well and takes less than 10 minutes. Once you've downloaded the app and given it access to your photos, follow these steps:
- Start by selecting the Live Photo you want to convert.
- Then, tap GIF or Movie at on the toolbar at the top of the screen.
- Finally, tap the Export button at the bottom of your screen.
This will save the video in your Camera Roll. If you're choosing to create a GIF, tap the Settings button to customize your GIF. Another aspect to note is the watermark. The free version of the app will add a watermark to the saved version. You can remove the watermark by purchasing the app for $2.99.
Method 5. Turn Live Photos into Videos With Other Third-party Apps
If you haven't quite upgraded to an iOS 11 device, there are a number of other third-party apps you can choose from to convert your Live Photo into a video. We've mentioned to in this guide, but here are a few honorable mentions. Most iOS-only video editors will also support this feature. All you'll have to do is type "convert Live Photo to Video" into the App Store search bar and choose one from the many available options.
Video creates a fun, interactive way to share your life with your audience and connect with them in a real, authentic way — and you don't need the latest iPhone models to do it. We hope this guide has been useful.


