Summary: How to record on Google Slides? Google Slides doesn't have a built-in recording feature, but you can use other recording tools to record a presentation on Google Slides.
As part of the Google Docs Editors suite, Google Slides offers a plethora of features that allow users to create and edit presentation files online while collaborating with other users in real time. And for those who are unable to sit through a live presentation, recording a presentation on Google Slides can serve as a flexible way. Recording Google Slides not only enables team members to review a presentation at their place without needing to coordinate schedules for a live session but also allows teachers to provide students with lectures and learning content that can be accessed at any time and from anywhere. Here in this post, we have pieced together a complete tutorial explaining how to record on Google Slides using 3 ways.
How to Record on Google Slides with Audio/Video/Webcam
Designed as a free Google Slides screen recorder, VideoProc Converter AI allows you to record on Google Slides with the best image quality reserved. It offers the most flexible way to capture the entire or partial Google Slides presentation and record video from your webcam, or simultaneously to create a reviewing video. Besides, packed with a basket of utility tools, you can crop, draw, and highlight any content of the Google Slides, and even add outlines, texts, arrows, voiceover, images, and more.

VideoProc Converter AI – Record on Google Slides with Ease
- Record a presentation on Google Slides with a webcam, microphone, and system audio.
- Capture full or selected 4K/HD presentation slides in multiple recording modes.
- Support picture-in-picture or green screen mode.
- AI-generative video solution: AI upscale, media convert, compress, record, edit, download, and more.
Excellent ![]()
![]()
Step 1. Free download VideoProc Converter AI and launch it on your Windows/Mac.
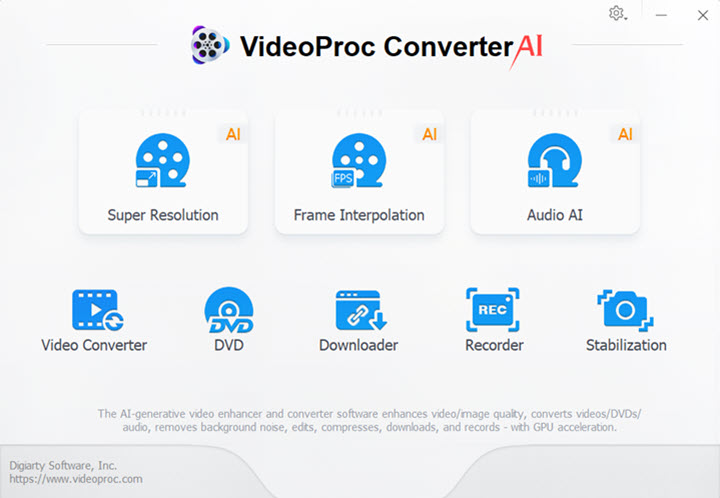
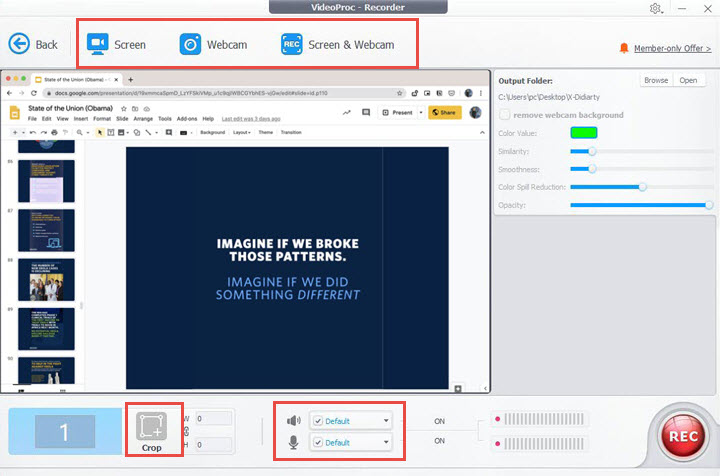
Step 2. Tap Recorder on the home page, and select a recording mode. Click on the Wrench icon at the top-right corner to adjust the video quality, format, output path, and other settings.
Step 3. Open the Google Slides presentation you wish to record, and you can use the Crop tool to select to record a part of your screen if needed.
Step 4. Enable audio devices so that the recorder can capture both the microphone and system audio while recording Google Slides.
Step 5. Click on the Rec button to start recording, and you can use the shortcuts 'Ctrl+Alt+Shift+T' to bring or hide the painting tools during recording. And once finished, click the Stop button to stop recording, and the Google Slides presentation video clips will be stored in the location previously configured.
How to Record on Google Slides Using Panopto
Panopto, a web-based tool that allows people to record, host, and share audio and video files, can easily record engaging and pro-level Google Slides presentations online, with the bonus to adjust the frame rate and produce smooth slide recordings. Not only can you use Panopto to capture your screen, but can also record your HD webcam with virtual background blur and replacement. And you can upload and share your Google Slides recording directly to Youtube or Google Classroom once finished, or download the video file and share it on other platforms.
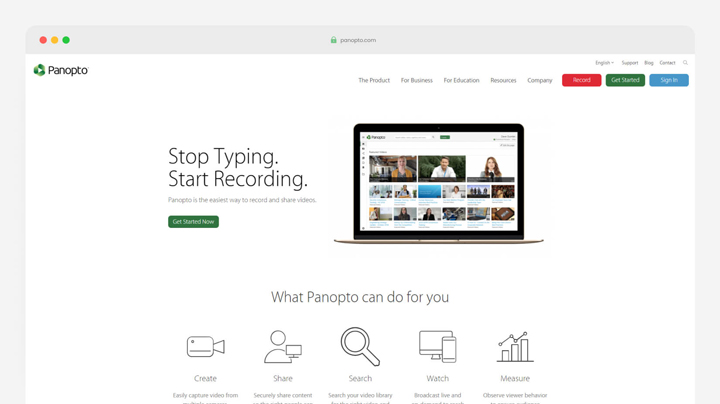
Pros:
- Allows for multiple information-rich inputs to be recorded simultaneously: webcam, microphone, and system audio…
- Integration ability.
- Polish up the recording with editing tools.
Cons:
- The user interface is clunking for novice computer users.
- The pricing model is scaling.
- The rendering process is a little sluggish.
- Limited video storage and features in the free trial.
Step 1. Go to the Panopto website, and log in to your account.
Step 2. Find the Record button at the top right, click on it, and select the 'Screen and Apps' mode. Choose to share either the entire screen, a window, or a Chrome tab from the options given.
Step 3. You can use the Setting button in the bottom right corner to adjust the settings for your Google Slides record.
Step 4. Click on the Rec button to start recording, and when finished, click the Rec button again to end the recording.
How to Record on Google Slides Using Loom
Another way to record in Google Slides is to use Loom, a Chrome screen recorder extension that enables users to easily capture and share activities within a Google Chrome browser window, record full screen and system audio, and offers an array of editing tools to trim, add captions, and customize presentation thumbnails flexibly.
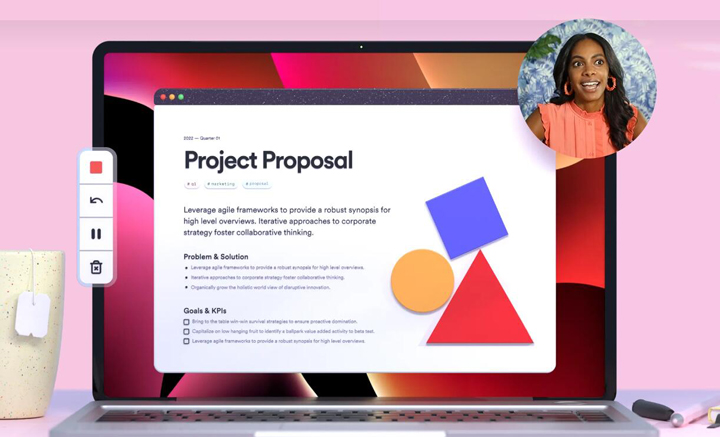
Pros:
- Screen and webcam recording; system and microphone audio recording.
- One-click screen recording Google Slides in Chrome.
- Free cloud storage.
Cons:
- Limited recording feature in the free plan.
- Slow rendering.
- No customer support.
Step 1. Add the Loom Chrome extension, and run it.
Step 2. Choose the recording options.
You can choose 'Screen Only' if you don't want to record the Webcam. Otherwise, select 'Screen and Camera' to record yourself on google slides.
Step 3. Open the Google Slides presentation you wish to record, and click Start Recording to start the process.
Screen Record Google Slides Tips
Google Slides presentation? Check. The screen recorder? Check. Now, you have everything you need, and it's time to record an engaging Google Slides presentation. To that end, keep in mind the following tips:- Plan your presentation carefully: make sure you have a clear plan for your presentation, and know the key points that you wish to cover and the way to structure your slides.
- Use more visual elements: incorporate in your Google Slides more visuals or descriptive languages, such as images, charts, and diagrams, which could help illustrate and deliver what you are describing.
- Record in a quiet environment: Make sure you are recording in a quiet environment that is free from any background noise so that your presentation recording is clear and easy to understand.
- Use Presenter View: the Presenter view displays the slides to your audience in one window, and presents you with the speaker notes in a separate window.
- Review and Edit your recording: Review and edit the presentation recording before sharing it: trim the unnecessary parts, adjust the volume levels, and add captions if necessary.

