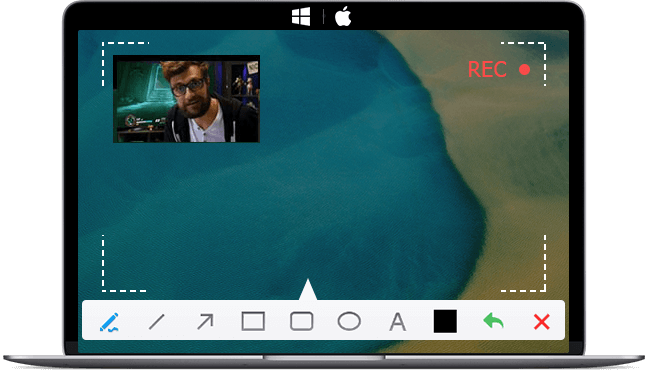
Recording yourself on a Mac has become more and more important for different reasons like making videos, capturing special moments, or communicating online. Luckily, users have a variety of options to easily record yourself on Mac. Whether you want to make a tutorial, a vlog, or simply keep personal memories, recording yourself on Mac can be helpful. Whether you're new to using a Mac or you're experienced, knowing different recording methods available can help you choose the best option for your specific needs.
In this article, we'll look at 3 different ways to record yourself on a Mac. We'll begin by using the built-in QuickTime Player, which is an easy and basic recording tool. Next, we'll go over Photo Booth, a different native app with fun and creative recording options. Finally, we'll talk about the advantages of using third-party screen recording software, which offers you advanced features and customization options.
Before starting a recording on your Mac, make sure your Mac has a built-in webcam and ensure it is working. Also, you should make sure that your surroundings are properly lighted and stay away from any noise that might interfere with the video-capturing process.

How to Record Yourself on Mac in 3 Ways
1. How to Record Yourself on Mac with VideoProc Converter AI
VideoProc Converter AI is an ideal option if you're seeking a reliable and simple way to record oneself on a Mac. It is a great tool with a wide range of cutting-edge capabilities. This software is made to meet the needs of both novice and experienced users, offering high-quality video recording and thorough editing features.
Besides, it offers a bunch of features to help you polish your recorded videos. You can easily trim, split, merge, add subtitle, convert video formats, extract audio from video, and make more changes. And you can download videos from online websites if you need more footages to enrich your videos.
VideoProc Converter AI — Record Yourself on Mac Easily
- Supports recording yourself on Mac computer within steps.
- Supports recording computer screen on Mac and Windows.
- Supports recording webcam and computer screen simultaneously.
- Supports converting all 4K, HD, large, and long videos without lagging.
- Offers editing features like trim, split, merge, add subtitles, add effects.
- No file size uploading limits, no image quality loss, no watermarks or ads.
![]() Excellent
Excellent ![]()
Now let's free download VideoProc Converter AI Mac computer and then record yourself on Mac in an easy way..
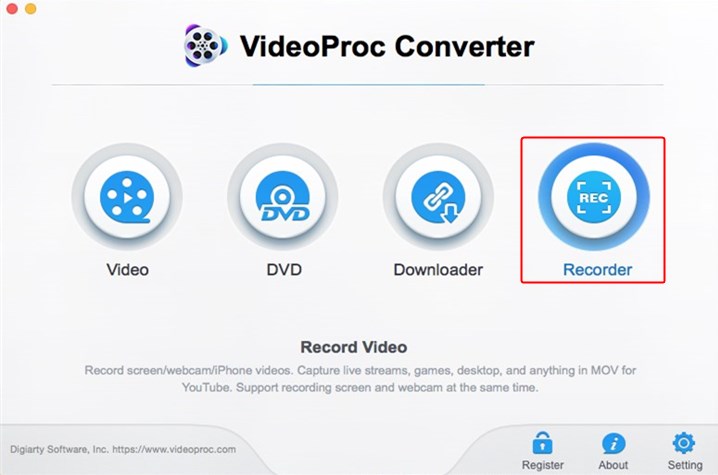
Step 1. Run VideoProc Converter AI on your Mac computer and click on Recorder icon on the main page.
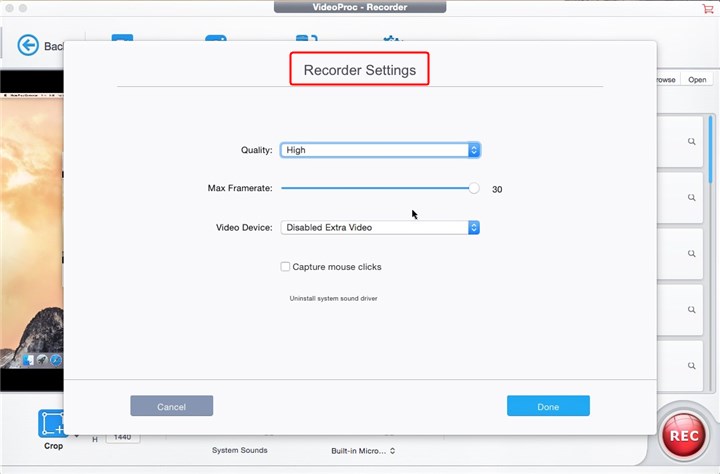
Step 2. Click Recording Settings on the top bar, set the quality, max framerate, video device, and more. Click Done to continue.
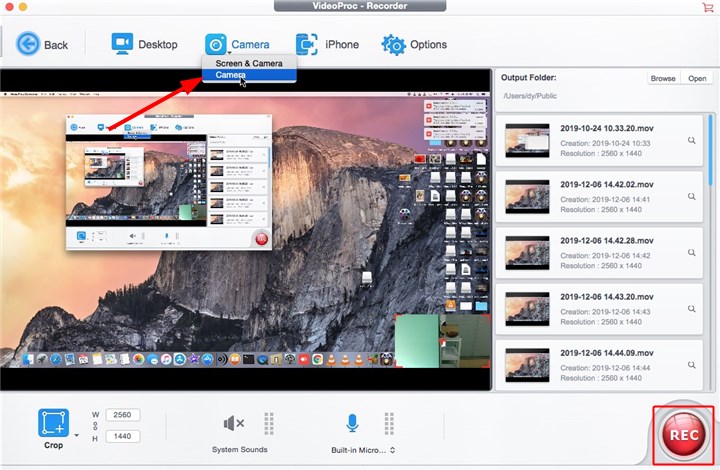
Step 3. Click Camera icon and choose Screen & Camera to record them simultaneously or click Camera to record your webcamera only.
2. How to Record Yourself on Mac with Photo Booth
Photo Booth is also a pre-installed application on macOS, which allows you to take photos and record videos with your built-in camera. It lets you record yourself on Mac with filters and effects. Also, another reason to use Photo Booth is that it won't flip your video horizontally like QuickTime Player. But it has drawbacks too. You cannot record yourself on Mac from an external microphone and you are not able to change the recording format, quality, and more parameters.
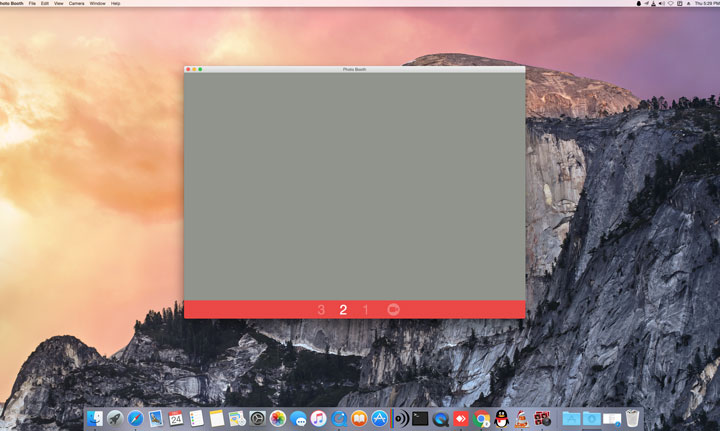
Step 1. Open up Photo Booth and you will see 3 icons on the bottom left.
Step 2. Choose the 3rd button that has a video camera icon to start recording videos. Click on Effects icon if you want some filters on your videos.
Step 3. Click the red record butto to record yourself on Mac after counting down for 3 seconds.
3. How to Record Yourself on Mac with QuickTime
It's super useful to record yourself on Mac if you want to create videos for social platforms, capture your gameplay highlights, or conduct an online interview. Most people would choose QuickTime as their first choice cause it's the default media player that pre-installed on macOS. Besides playing videos, QuickTime also supports recording yourself on Mac with your built-in camera and microphone. Let's walk you through the detailed steps to record yourself on Mac with QuickTime.
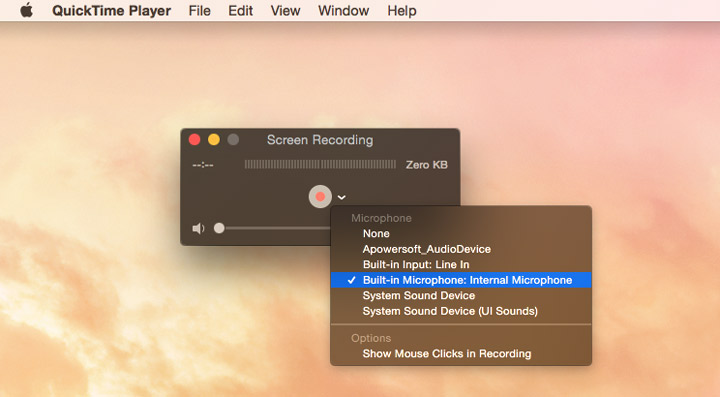
Step 1. Open QuickTime Player on your Mac and go to File > New Screen Recording from the top menu bar. You can connect an external camera if your Mac has not been equipped with one.
Step 2. Click the Options menu to set recording settings. Choose whether to record microphone and mouse clicks.
Step 3. Click the Record button to start recording.
Step 4. Press Command, Control, and Esc together to stop your recording.
Step 5. Choose File > Save to save and name the recording.
The Bottom Line
No matter which method you choose, recording yourself on a Mac can be easily done with these 3 methods. If you want to process your recorded videos, VideoProc Converter AI will be a great helper. There are many other useful features you can explore!

