Denoise Video Image
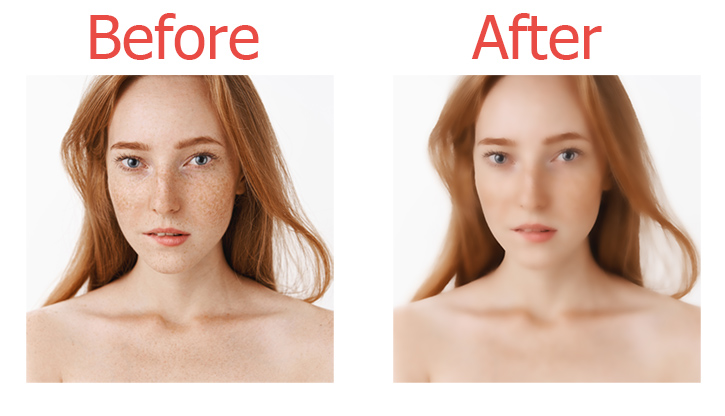
Videos are inevitably degraded by noise during capturing by cameras, compression and sharing. VideoProc Vlogger allows you to denoise video image to make blurred or grainy images clear, improve the deteriorated visual image quality and even make the skin in a video look smoother like a beauty filter.
Let's download, install and run VideoProc Vlogger. Follow the steps below to denoise video image.

Option 1. Apply the Denoise Effect
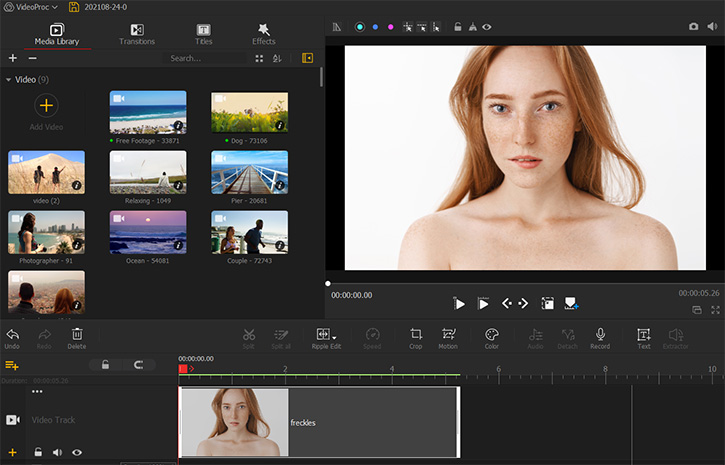
Step 0 Create a new project in VideoProc Vlogger, and add the source video to the Media Library. Drag the video to the Video Track.

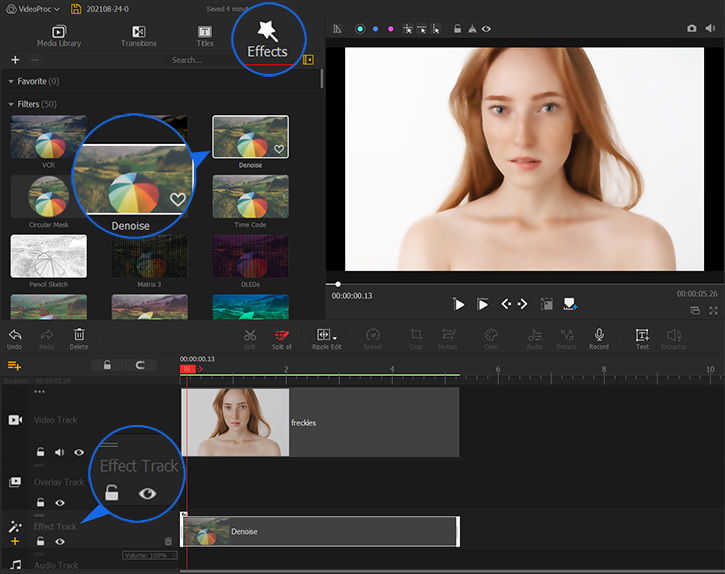
Step 1 Choose the Effects menu, and then find Denoise.
Step 2 Drag it to the Effect Track in the Timeline.
Step 3 Click the Denoise effect and then pull it to cover the images which you want to process.

Option 2. Use the Denoise Settings
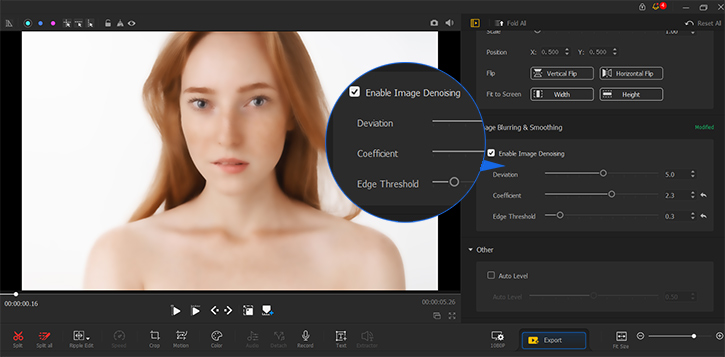
Step 1 On the Inspector which is on the right of interface, find Enable Image Denoise under Image Blurring & Smoothing among a bunch of features.
Step 2 Then you can have two choices to realize denoising, manually and automatically.
Step 3 Manually, check the Enable Image Denoise box and change the Deviation, Coefficient, and Edge Threshold numbers to make the image look like what you want.
• Deviation – Adjust the radius centered on each pixel. The larger the radius is, the more neighboring pixels will be included in the calculation.
• Coefficient – It enables you to change the level of weights given to neighboring pixels.
• Edge Threshold – Simply drag & pull to find the sweet spot. It will be showing real-time image noise reduction in the preview window, as most edge-detection algorithms are sensitive to noise.

Automatically, check the Auto Level box and move the number to make VideoProc Vlogger finish the work.
- > Make Lens Correction
- > Add Background Image to Video
- > Add Black Bars to Video
- > Add Watermark to Video
- > Reverse Play Video
For more guides of VideoProc Vlogger, please visit this page >
If you have any question, please email us or visit

